short info

A Pin-on-Disc wear testing machine, also known as a tribometer, is a device used to study the friction and wear characteristics of materials under sliding conditions. It typically consists of a stationary pin or ball pressed against a rotating disc, allowing for the measurement of parameters like the coefficient of friction, friction force, wear rate, and wear volume.

Model

VSLIC-G078.C

Origin

Indian

Make/ OEM

VERTEX

  • DESCRIPTION

  • SPECIFICATIONS

  • FEATURES

  • VIDEO
  •  New
    WORKING PRINCIPAL
  •  New
    REVIEW

OVERVIEW

A Pin-on-Disc wear testing machine, also known as a tribometer, is a device used to study the friction and wear characteristics of materials under sliding conditions. It typically consists of a stationary pin or ball pressed against a rotating disc, allowing for the measurement of parameters like the coefficient of friction, friction force, wear rate, and wear volume. How it Works:

  • Components: The machine features a stationary pin (or ball) and a rotating disc. The disc is usually made of a harder material to simulate real-world counter surfaces.
  • Load Application: A normal load is applied to the pin, pressing it against the disc. This load can be adjusted and controlled, often with weights or a sophisticated loading system.
  • Sliding Motion: The disc rotates, causing the pin to slide and create friction and wear. The speed of rotation and the wear track diameter can be varied.
  • Measurement & Monitoring: Sensors monitor the frictional force, wear, and sometimes temperature and other parameters in real-time.
  • Data Analysis: After the test, the wear on the pin and/or disc is analyzed, often by measuring weight loss before and after the experiment to calculate wear volume. Surface topography analysis and microscopy can also be used to examine wear patterns.

Applications and Advantages:

  • Material Characterization: Ideal for evaluating the tribological properties of various materials, including alloys, ceramics, polymers, and coatings.
  • Controlled Conditions: Offers better control over experimental conditions compared to other tribometers, allowing for relatively steady-state testing.
  • Versatility: Can be adapted for dry or lubricated tests, and can incorporate various adapters for different test geometries (e.g., pin-on-plate, block-on-ring).
  • Parameter Flexibility: Allows for adjustable parameters like load, speed, temperature, and environmental conditions.

Technical Specification

Wear and friction monitor Pin on Desk Tester with an environment and lubrication Recirculation system
Pin diameter 3 to 12 mm Diagonal/Diameter
Ball diameter 10 mm
Disc (diameter x thickness) 165×8 mm
Wear track diameter 50-100 mm
Sliding velocity 0.5-10 m/sec
Disc speed 200-2000 rpm, LC- 1rpm
Normal Load 5-200 N in steps of 5N
Friction force 0-200 N, LC-0.1N; Wear: 0-2000 um, LC-1 micron
Software Windows based software (Frictional force vs Wear, Frictional force vs Time, Wear vs Time)
Data entry Through software
PC connectivity Serial Interface (RS232)
Reports & printouts Graphical-data type reports can be printed through software
Power Supply 230 V


SPECIFICATIONS

A Pin-on-Disc wear testing machine, also known as a tribometer, is a device used to study the friction and wear characteristics of materials under sliding conditions. It typically consists of a stationary pin or ball pressed against a rotating disc, allowing for the measurement of parameters like the coefficient of friction, friction force, wear rate, and wear volume. How it Works:

  • Components: The machine features a stationary pin (or ball) and a rotating disc. The disc is usually made of a harder material to simulate real-world counter surfaces.
  • Load Application: A normal load is applied to the pin, pressing it against the disc. This load can be adjusted and controlled, often with weights or a sophisticated loading system.
  • Sliding Motion: The disc rotates, causing the pin to slide and create friction and wear. The speed of rotation and the wear track diameter can be varied.
  • Measurement & Monitoring: Sensors monitor the frictional force, wear, and sometimes temperature and other parameters in real-time.
  • Data Analysis: After the test, the wear on the pin and/or disc is analyzed, often by measuring weight loss before and after the experiment to calculate wear volume. Surface topography analysis and microscopy can also be used to examine wear patterns.

Applications and Advantages:

  • Material Characterization: Ideal for evaluating the tribological properties of various materials, including alloys, ceramics, polymers, and coatings.
  • Controlled Conditions: Offers better control over experimental conditions compared to other tribometers, allowing for relatively steady-state testing.
  • Versatility: Can be adapted for dry or lubricated tests, and can incorporate various adapters for different test geometries (e.g., pin-on-plate, block-on-ring).
  • Parameter Flexibility: Allows for adjustable parameters like load, speed, temperature, and environmental conditions.

Technical Specification

Wear and friction monitor Pin on Desk Tester with an environment and lubrication Recirculation system
Pin diameter 3 to 12 mm Diagonal/Diameter
Ball diameter 10 mm
Disc (diameter x thickness) 165×8 mm
Wear track diameter 50-100 mm
Sliding velocity 0.5-10 m/sec
Disc speed 200-2000 rpm, LC- 1rpm
Normal Load 5-200 N in steps of 5N
Friction force 0-200 N, LC-0.1N; Wear: 0-2000 um, LC-1 micron
Software Windows based software (Frictional force vs Wear, Frictional force vs Time, Wear vs Time)
Data entry Through software
PC connectivity Serial Interface (RS232)
Reports & printouts Graphical-data type reports can be printed through software
Power Supply 230 V

FEATURES

A Pin-on-Disc wear testing machine, also known as a tribometer, is a device used to study the friction and wear characteristics of materials under sliding conditions. It typically consists of a stationary pin or ball pressed against a rotating disc, allowing for the measurement of parameters like the coefficient of friction, friction force, wear rate, and wear volume. How it Works:

  • Components: The machine features a stationary pin (or ball) and a rotating disc. The disc is usually made of a harder material to simulate real-world counter surfaces.
  • Load Application: A normal load is applied to the pin, pressing it against the disc. This load can be adjusted and controlled, often with weights or a sophisticated loading system.
  • Sliding Motion: The disc rotates, causing the pin to slide and create friction and wear. The speed of rotation and the wear track diameter can be varied.
  • Measurement & Monitoring: Sensors monitor the frictional force, wear, and sometimes temperature and other parameters in real-time.
  • Data Analysis: After the test, the wear on the pin and/or disc is analyzed, often by measuring weight loss before and after the experiment to calculate wear volume. Surface topography analysis and microscopy can also be used to examine wear patterns.

Applications and Advantages:

  • Material Characterization: Ideal for evaluating the tribological properties of various materials, including alloys, ceramics, polymers, and coatings.
  • Controlled Conditions: Offers better control over experimental conditions compared to other tribometers, allowing for relatively steady-state testing.
  • Versatility: Can be adapted for dry or lubricated tests, and can incorporate various adapters for different test geometries (e.g., pin-on-plate, block-on-ring).
  • Parameter Flexibility: Allows for adjustable parameters like load, speed, temperature, and environmental conditions.

Technical Specification

Wear and friction monitor Pin on Desk Tester with an environment and lubrication Recirculation system
Pin diameter 3 to 12 mm Diagonal/Diameter
Ball diameter 10 mm
Disc (diameter x thickness) 165×8 mm
Wear track diameter 50-100 mm
Sliding velocity 0.5-10 m/sec
Disc speed 200-2000 rpm, LC- 1rpm
Normal Load 5-200 N in steps of 5N
Friction force 0-200 N, LC-0.1N; Wear: 0-2000 um, LC-1 micron
Software Windows based software (Frictional force vs Wear, Frictional force vs Time, Wear vs Time)
Data entry Through software
PC connectivity Serial Interface (RS232)
Reports & printouts Graphical-data type reports can be printed through software
Power Supply 230 V

PRODUCT VIDEO

WORKING PRINCIPALNew

REVIEWNew

very good at Response and user friendly machines

⭐⭐⭐⭐⭐

POOJA

\"Excellent machine! Accurate readings and very sturdy build. The installation team was professional and the after-sales support has been great. Highly recommend for any lab or industrial use.\"

⭐⭐⭐⭐

K. Kaliputi

With the highly efficient and accurate Servo Universal Testing Machine by Vertex, Now I can test the TMT Bar great accuracy. With the help of this instrument,

⭐⭐⭐⭐⭐

Amjad Ali

The automatic blain air of flowing sample has an amazing accuracy and is simply easy to use. Our team of operators have been using it for more than 7 months now and have submitted zero complaints.

⭐⭐⭐⭐

Faruq Ali

I recently purchased a Servo Compression Automatic Compressive Machine 3000kN from Vertex and I couldn’t be more pleased. The instrument is of high-quality and helps to accurately measure the strain distribution in the preforms. It is easy to use and produces reliable test results.

⭐⭐⭐⭐⭐

Ritesh

×

Get Instant Quote

Our Hot Selling Instrument's

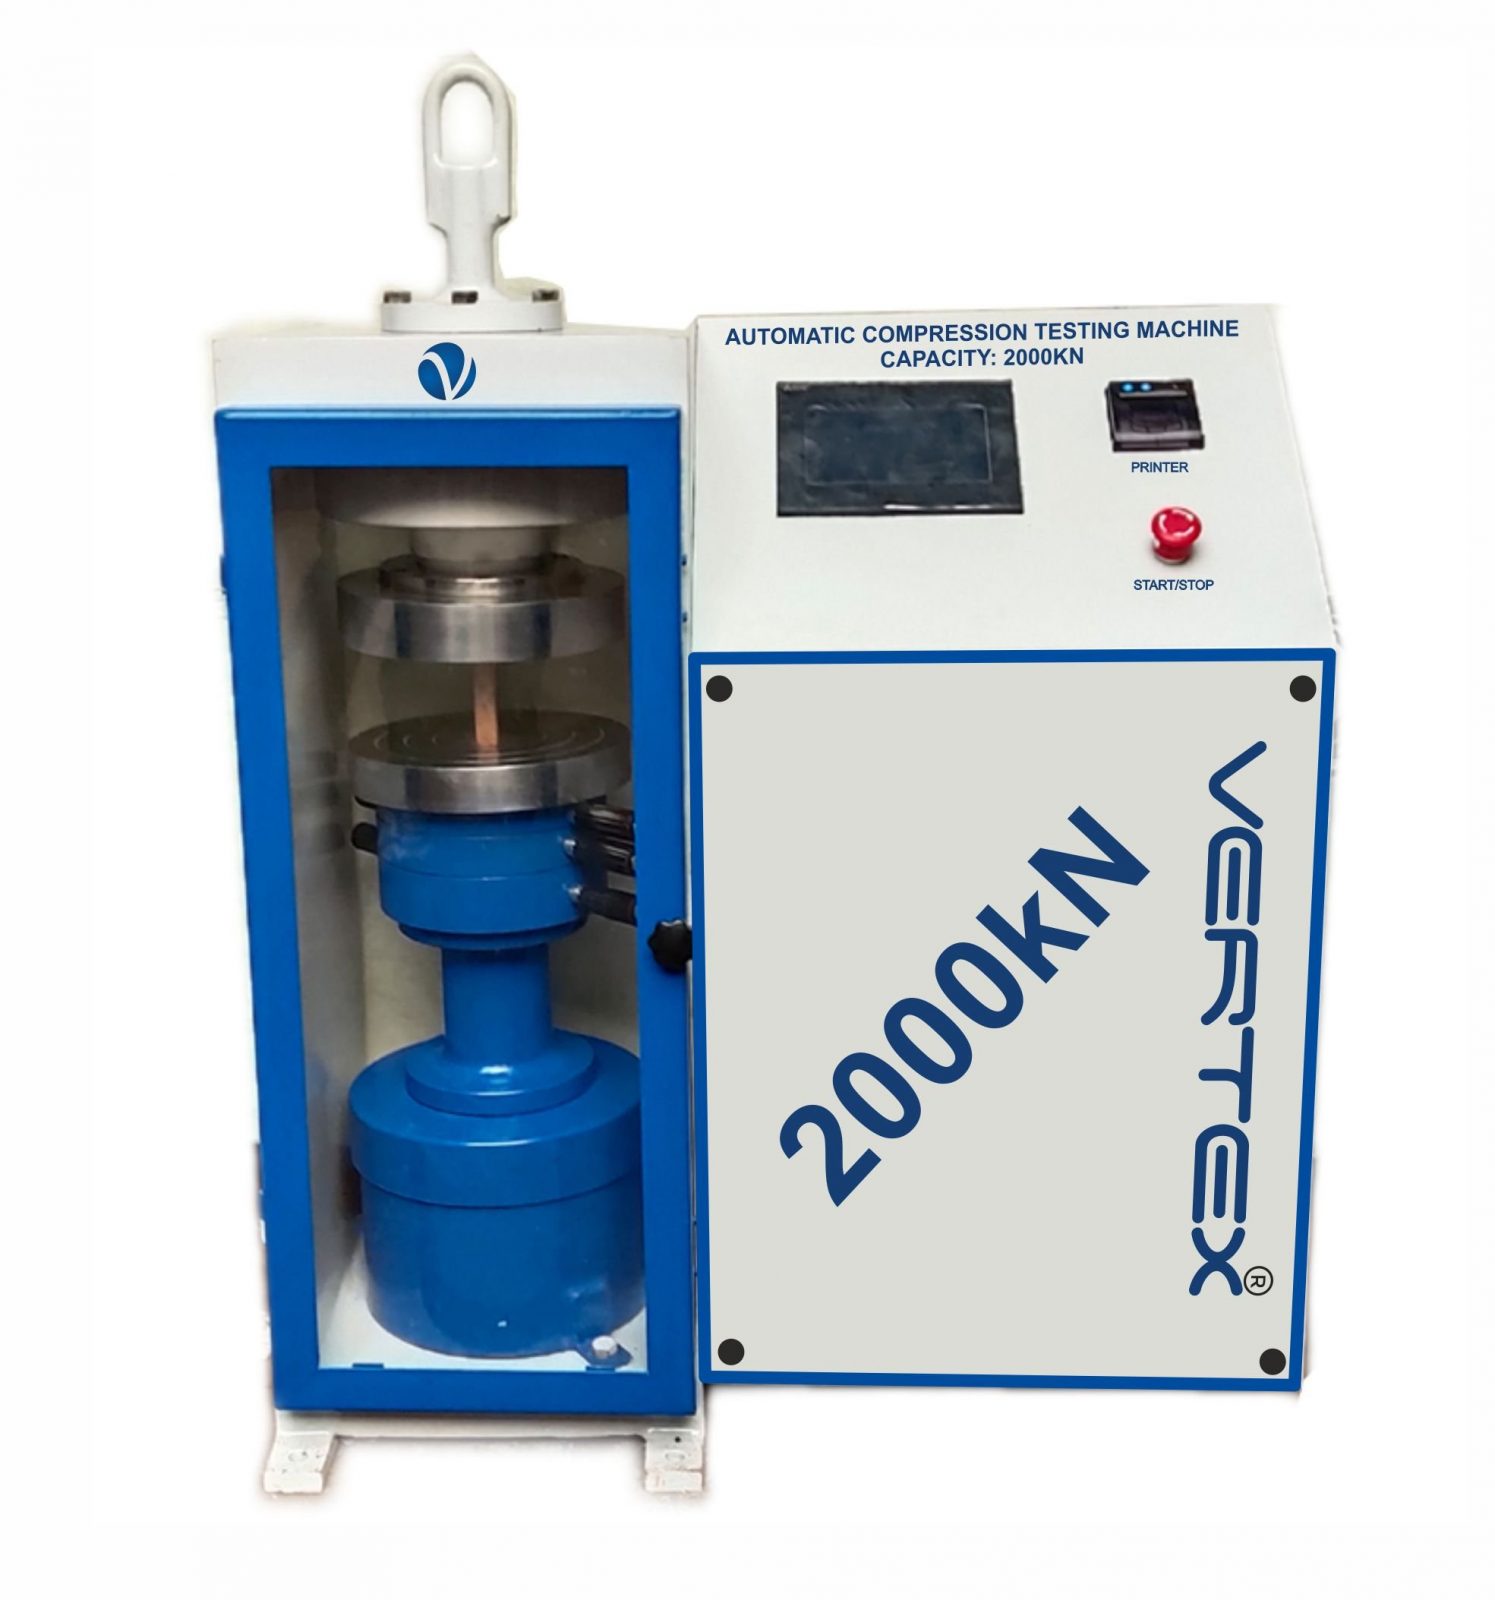
Servo Fully Automatic Compression Testing Machine

Servo Fully Automatic Compression Testing Machine

One of the key advantages of the SERVO CONTROLLED FULLY AUTOMATIC COMPRESSION TESTING MACHINE is its ability to deliver highly accurate results. This precision ensures that your materials meet the required standards, reducing the risk of costly errors and rework. Moreover, by producing consistent and reliable outcomes, you build a reputation for quality in your industry.

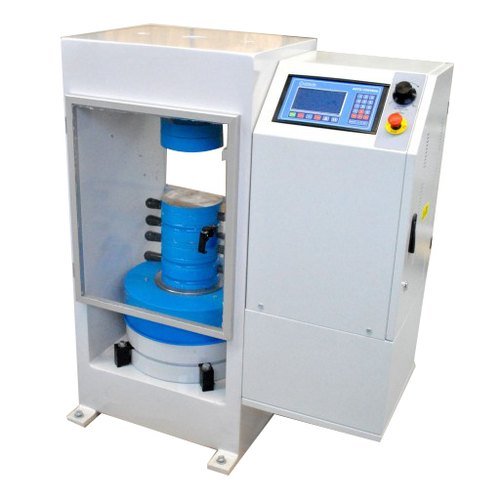
Automatic Compression Testing Machine

Automatic Compression Testing Machine

Manufactured as per International design, Plate model for highest mechanical stability, accurate centering of load and excellent repeatability. Fully Automatic pace rate control, auto stop and auto release on failure of test specimen, can be attached with flexural load frame or 500 KN load frame.

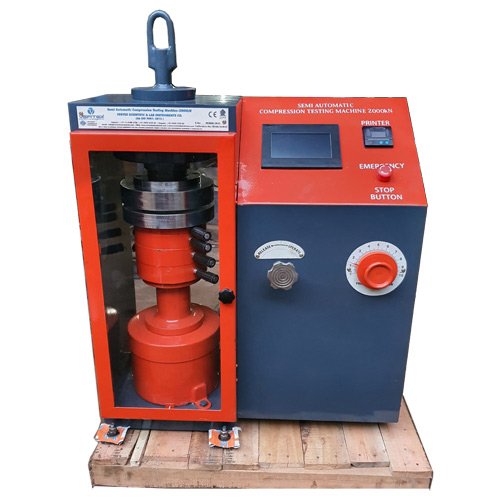
Semi Automatic Compression Testing Machine

Semi Automatic Compression Testing Machine

Pace rate is achieved manually by controlling the flow control knob and the adjustment can be made by observing the error on the display and the system is released manually after the peak load is achieved.

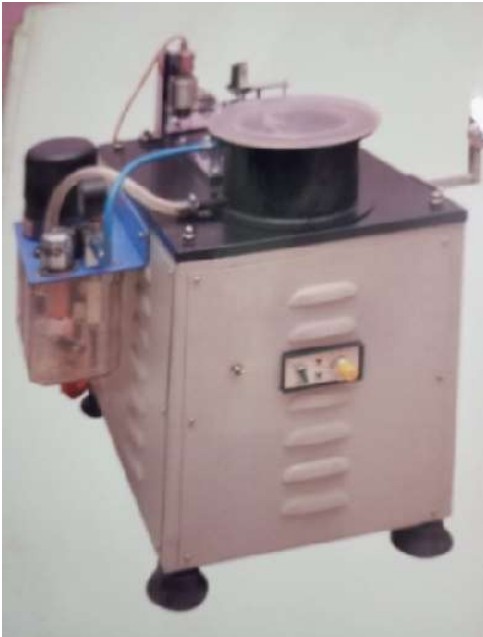
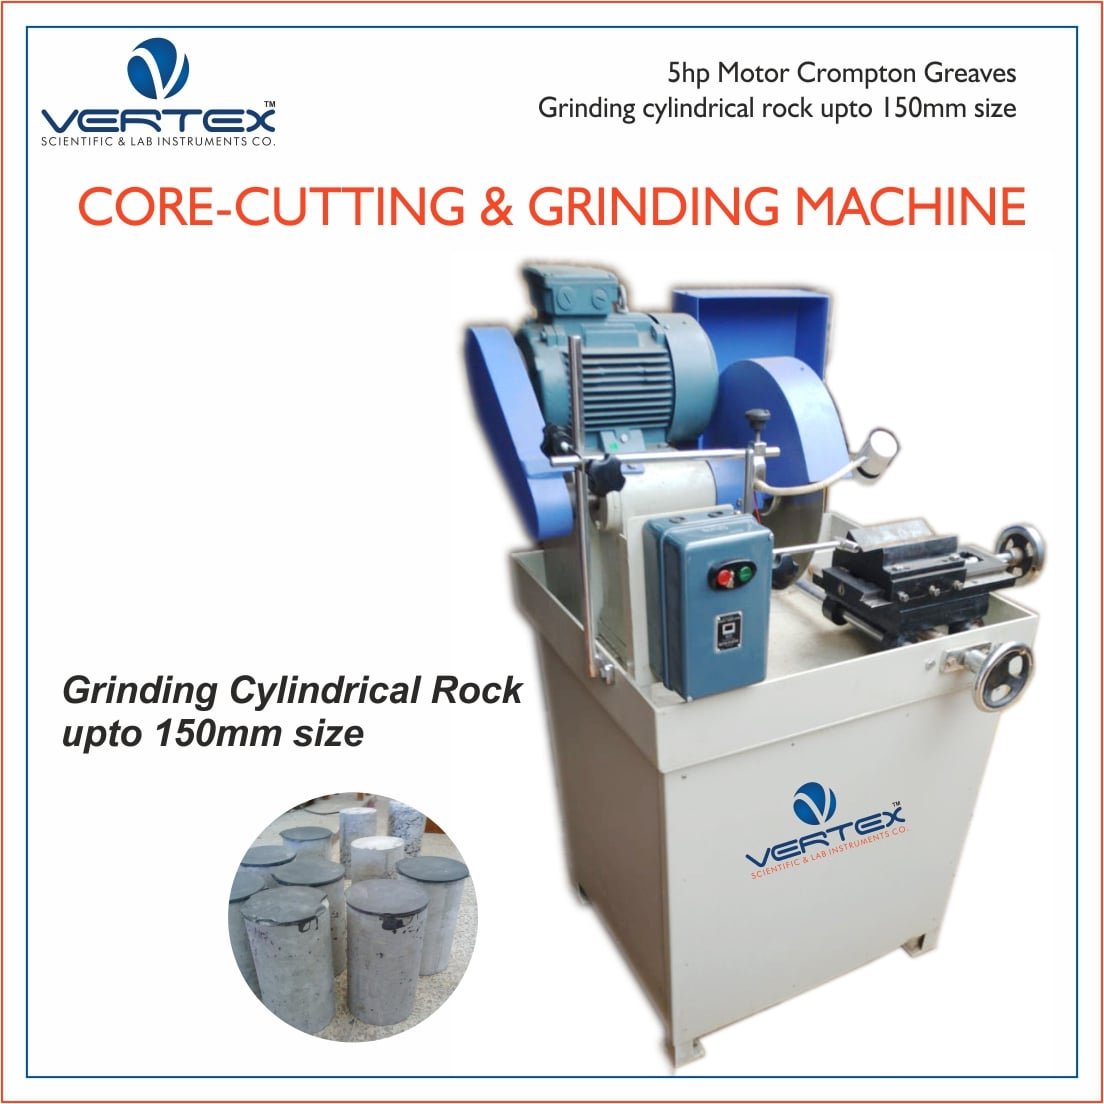
Rock Core Cutting & Grinding Machine

Rock Core Cutting & Grinding Machine

Rock Cutting Machine can be used to cut cores of varied sizes of concrete, stones, other building materials and metallic specimens.

Our Youtube Channel

Subsribe for New Video's.

NEW SERVO CONTROLLED COMPRESSION TESTING MACHINE